
How To: Easily Optimise and Add Images to Squarespace
It’s super easy to add images to any page or blog post on your Squarespace site. But first you want to optimise and store them in an easily accessible place on your computer.
What is optimisation?
The basic rule of thumb is that the smaller the file size, the quicker a site runs. But you also want them to look good, right? That’s where optimisation comes in.
Optimisation is simply the process of editing images so they’re the right size and format for whatever purpose you need them on your website.
Go one step further and add SEO optimisation, which means adding an informative and succinct title and alt text to each image. This means that images can act as conduits or links back to your website because they are identified as a) belonging to your site and b) clearly describe themselves.
I’ll explain optimisation more below. Read on…
How to optimise your images
Okay, so you’ve got your images on hand, from your own photos or downloaded from a copyright-free site like Pixabay or Unsplash.
I strongly suggest creating a copy of all your original images and working from the copies only. Keep the originals in a separate folder as a backup in case you need them later.
Give your image a short, unique and descriptive file name. Use lowercase, avoid numbers and separate words with dashes, eg lilanigoonesena-how-to-optimise-images-squarespace-website-lightbox

Give each image a short, brief file name using hyphens between the words, that both describes the images and claims ownership of it.
2. Using the free image software that comes with your computer - I use Preview on my Mac - resize your image to the desired size (see below for sizing tips). You’ll notice that the file size drops right down.
3. Then you want to squeeze it even further. So, drop your image into a free online image compression program like TinyJpg to shrink files right down. This software eliminates all the extra pixels but retains the sharp quality. You can even repeat this process by dragging the download back into TinyJpg.
I run all of my site images through TinyJpg before using them online.

Use an image compression program like TinyJpg to squeeze your images before uploading them to your site.
Now your images are ready to upload.
What size images does Squarespace use?
Good question. And the answer is that it depends what you’re using them for.
These are the image sizes that I use on my Squarespace sites:
1200 pixels wide for banner or full page width
800 pixels wide for half page or blog image
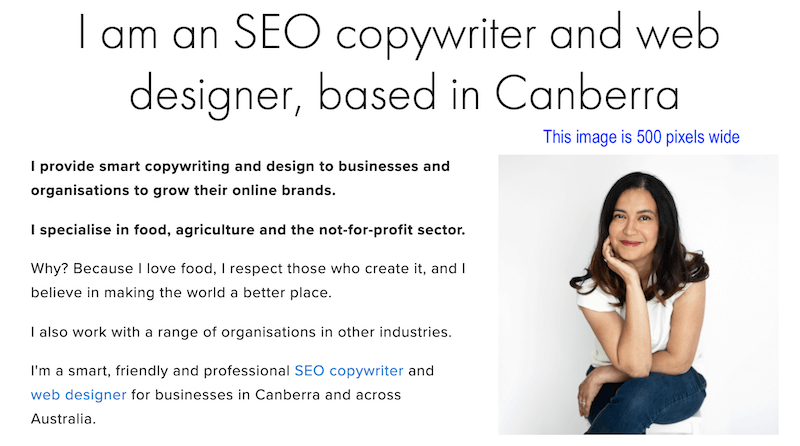
500 pixels wide for a sidebar
100 pixels square for a favicon
Note that Squarespace recommends 1500 - 2500 pixels for a full page width image. But I only ever use 1200 pixels and have found the quality very good. If however, you had a photography site or something that really needs to demonstrate detail, you might want to increase the pixel size.
Squarespace will also resize images for you so they can be viewed responsively on any device, so don’t worry too much about getting just the right size. And they will still download at the original size.

On my website portfolio page, I upload three images of each site at 800 pixels wide each, in a gallery format with the lightbox feature enabled. This means that while they look small in the gallery, when you click on one, it opens up at the original 800 pixels wide.

With the lightbox feature enabled, Squarespace expands images with one click and they pop up in the original size.
For more info, read up on the best kinds of images for your site.
How to add images to your Squarespace site
You can add images to any page or blog post.
In edit mode, hover over the left side of the page. A sideways 'tear' shape appears, click this for a list of options including insert images and video.
2. Drag your image from your desktop folder and check the file name (which will load automatically for you).
3. In the Caption option, you need to display this (initially) to write the alt text. This is important so that Google can ‘read’ the image’s content; it can’t actually see the image. It’s also good for people with vision impairment issues and as a description if the image turns up outside your site, like in a random Google search.

After you write the alt text beneath the image, you can edit the image to Do Not Display Caption and it disappears from the reader’s view but stays with the image.
4. If the image is important to you, say, you took the photo or created an original design, and you’re going to hide the caption, it’s also worth adding a copyright to the alt text and a link to your site. It just helps cover your work online.
5. Save your work!
There’s lots more you can do with images in Squarespace, including:
You can resize image blocks by dragging the corners.
You can drag image blocks (and other content blocks) around the page.
You can create animations, layout options and link it to a webpage.
Display them in galleries, carousels, albums and more.
HOT TIP - Want to check your images are optimised on your site?
Pop over to a site like https://webspeedtest.cloudinary.com and check. It will tell you which images are too big and the size they should be. Very useful.


About the author: Lilani Goonesena is a freelance communications consultant, SEO copywriter and web designer for government, not-for-profits and small businesses. Based in Canberra, she delivers smart, savvy SEO copywriting and professional Squarespace web design. She also writes an awesome newsletter on small business marketing, social media, blogging, web design and "all that online stuff".